

Growing potatoes is a very rewarding experience, especially when you have the right knowledge and techniques. With a little guidance, you can grow a bountiful crop of potatoes even in limited spaces. Here are my top tips and advice for growing potatoes in containers to ensure you get a great harvest.
Tip 1: Containers
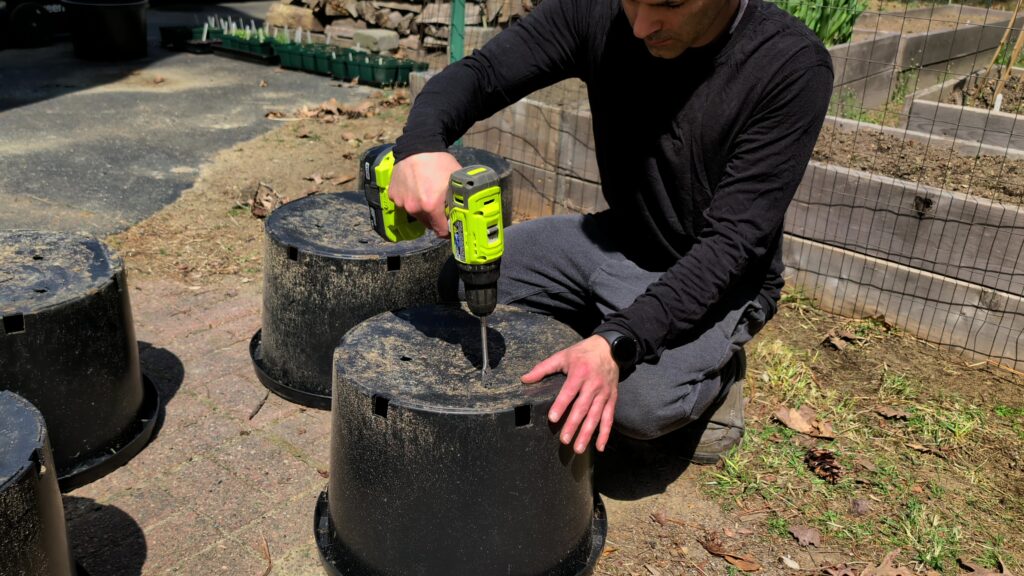
Start with the right containers. We use 10-gallon pots because they’re easy to fill and move around, especially at the end of the season. Make sure they have good drainage. We added extra holes in the bottom because we noticed last year that the pots were holding on to too much water. We used a spade bit in reverse to avoid cracking the plastic and drilled four to six extra holes in the bottom of each pot.
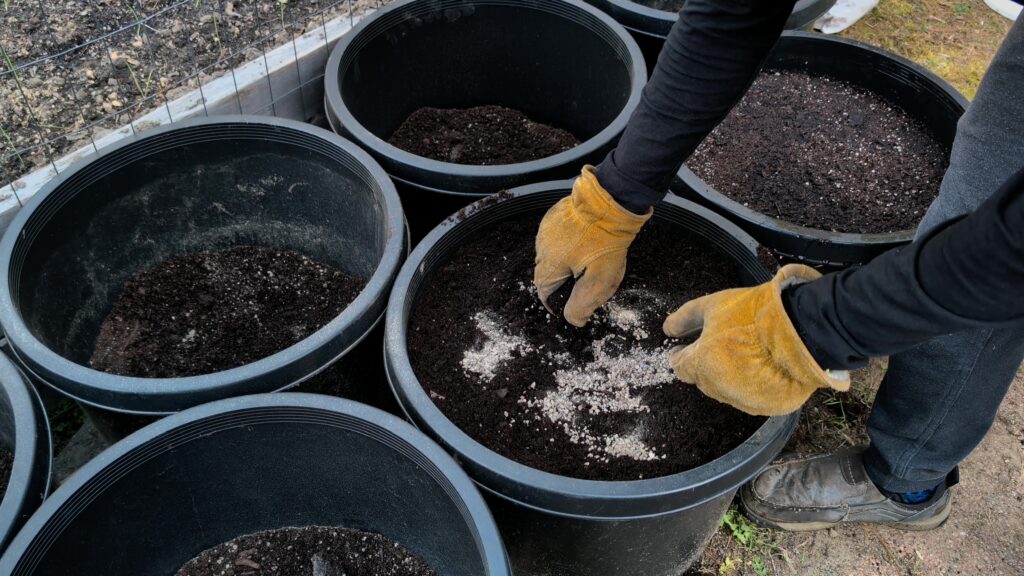
Tip 2: Soil
For soil, we mix potting soil and compost 50/50. We also added a balanced fertilizer, ideally around a 3-4-4, but use what you have on hand. We used a combo of Espoma plant-tone and garden-tone.
Tip 3: Seed Potatoes
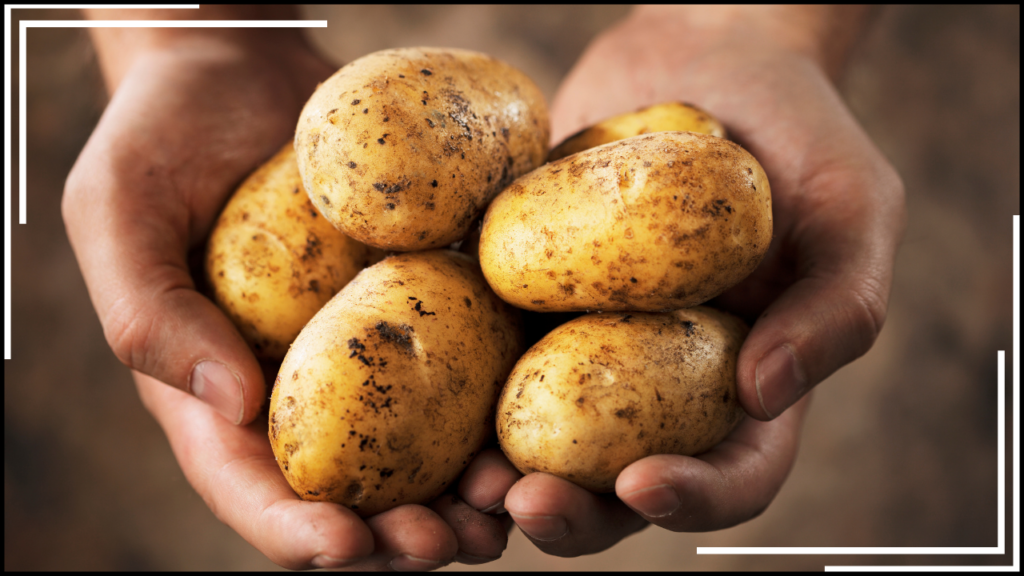
Get seed potatoes from a reliable source to ensure they’re disease-free. Before planting, you can chit them by placing them in bright, indirect light to encourage the eyes to grow. You’re looking for thick, stalky sprouts that are either green or purple. Those white spindly sprouts that grow in the kitchen cabinet aren’t what you’re looking for here.

Bonus Tip: Avoid Planting Grocery Store Potatoes
Grocery store potatoes might be treated with stuff that prevents them from growing roots, so it’s best to avoid using them. These potatoes aren’t certified disease-free either, which could lead to problems down the line.
Tip 4: Planting
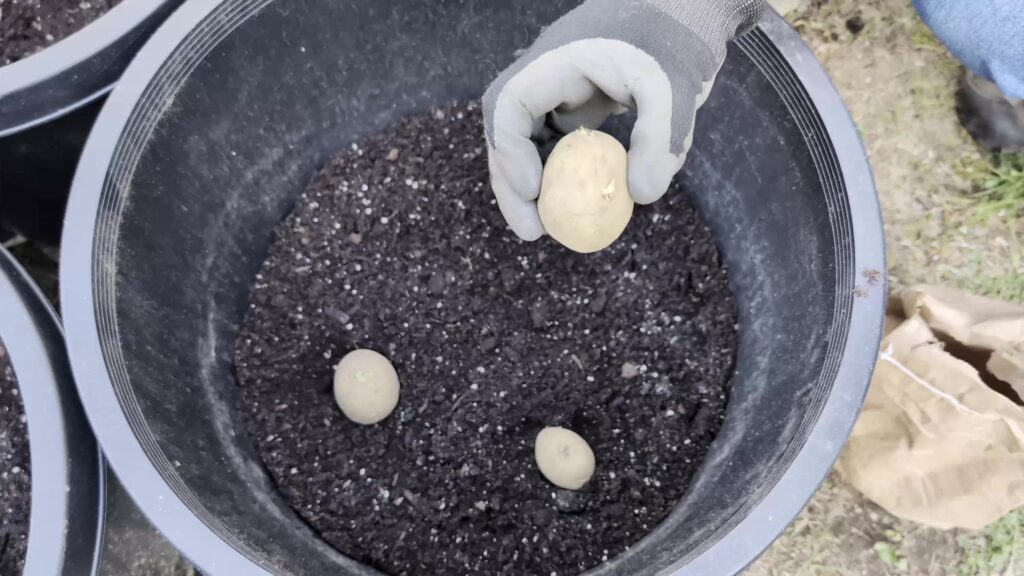
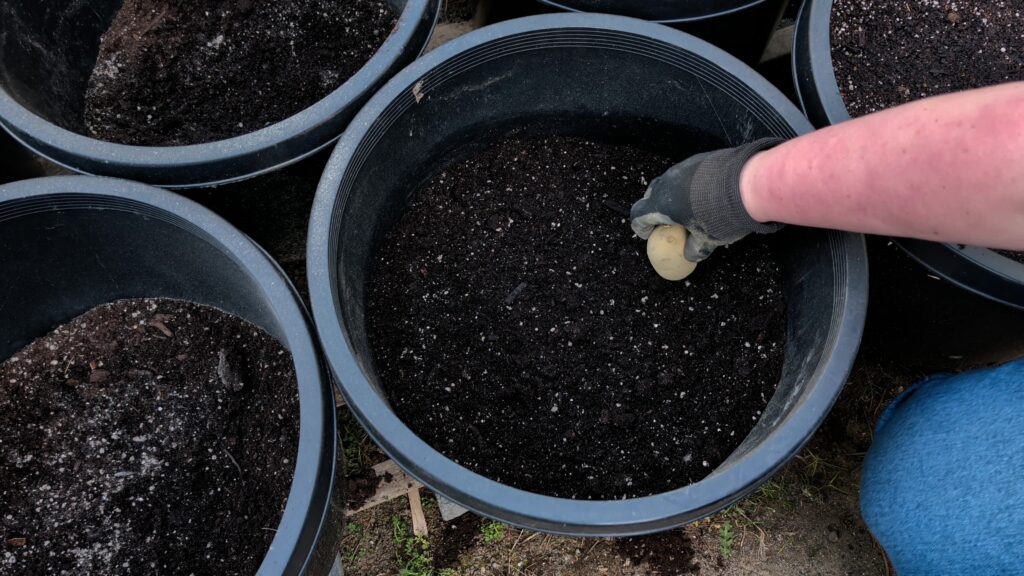
There are a few different ways to plant potatoes in containers. Some potatoes grow in one layer, while others produce along the stalk. For a few of the potatoes, we planted a lower layer, covered those with soil, and then planted a higher layer. For others, we planted only one layer in the bottom 1/3 of the pot. It’s a bit of trial and error to figure out which potatoes grow in one layer vs all the way up the plant. There are some lists out there, but I usually find conflicts on them, so I’ll try out my own instead. We added fertilizer to each layer of soil in the pot so they get a nice feed right from the beginning. I know I’ll forget to fertilize them during the season, so if that’s you too, keep this trick in mind!

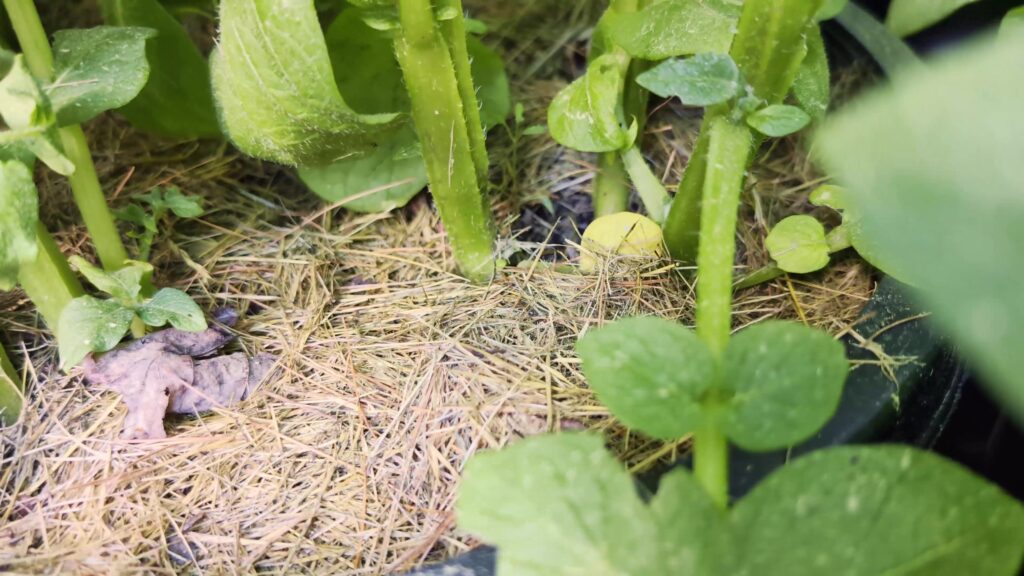
Tip 5: Mulching
Once the potatoes sprout about 3 inches, mulch the tops of the pots with grass clippings or straw. This helps keep moisture in and blocks sunlight, which can turn potatoes green and toxic.
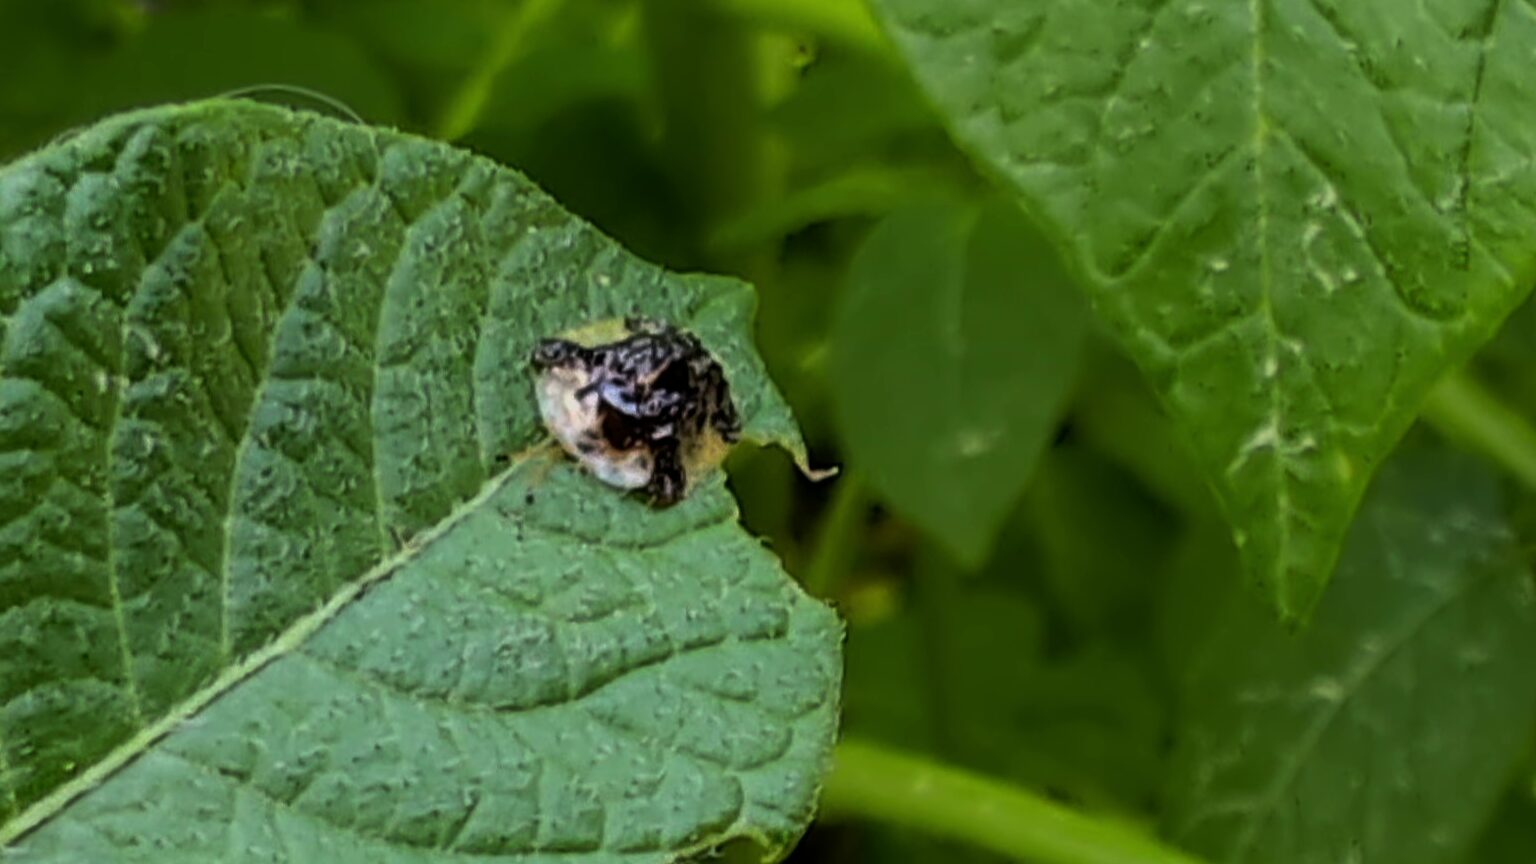
Tip 6: Dealing with Pests and Diseases
Watch out for pests like potato bugs, hornworm caterpillars, aphids, and slugs. Remove them by hand or use organic insecticidal soap. For soil pests like wireworms, growing potatoes in elevated pots can help to keep them out. To avoid diseases like blight, water at the surface and ensure good air circulation. You can also try growing varieties that are disease-resistant.

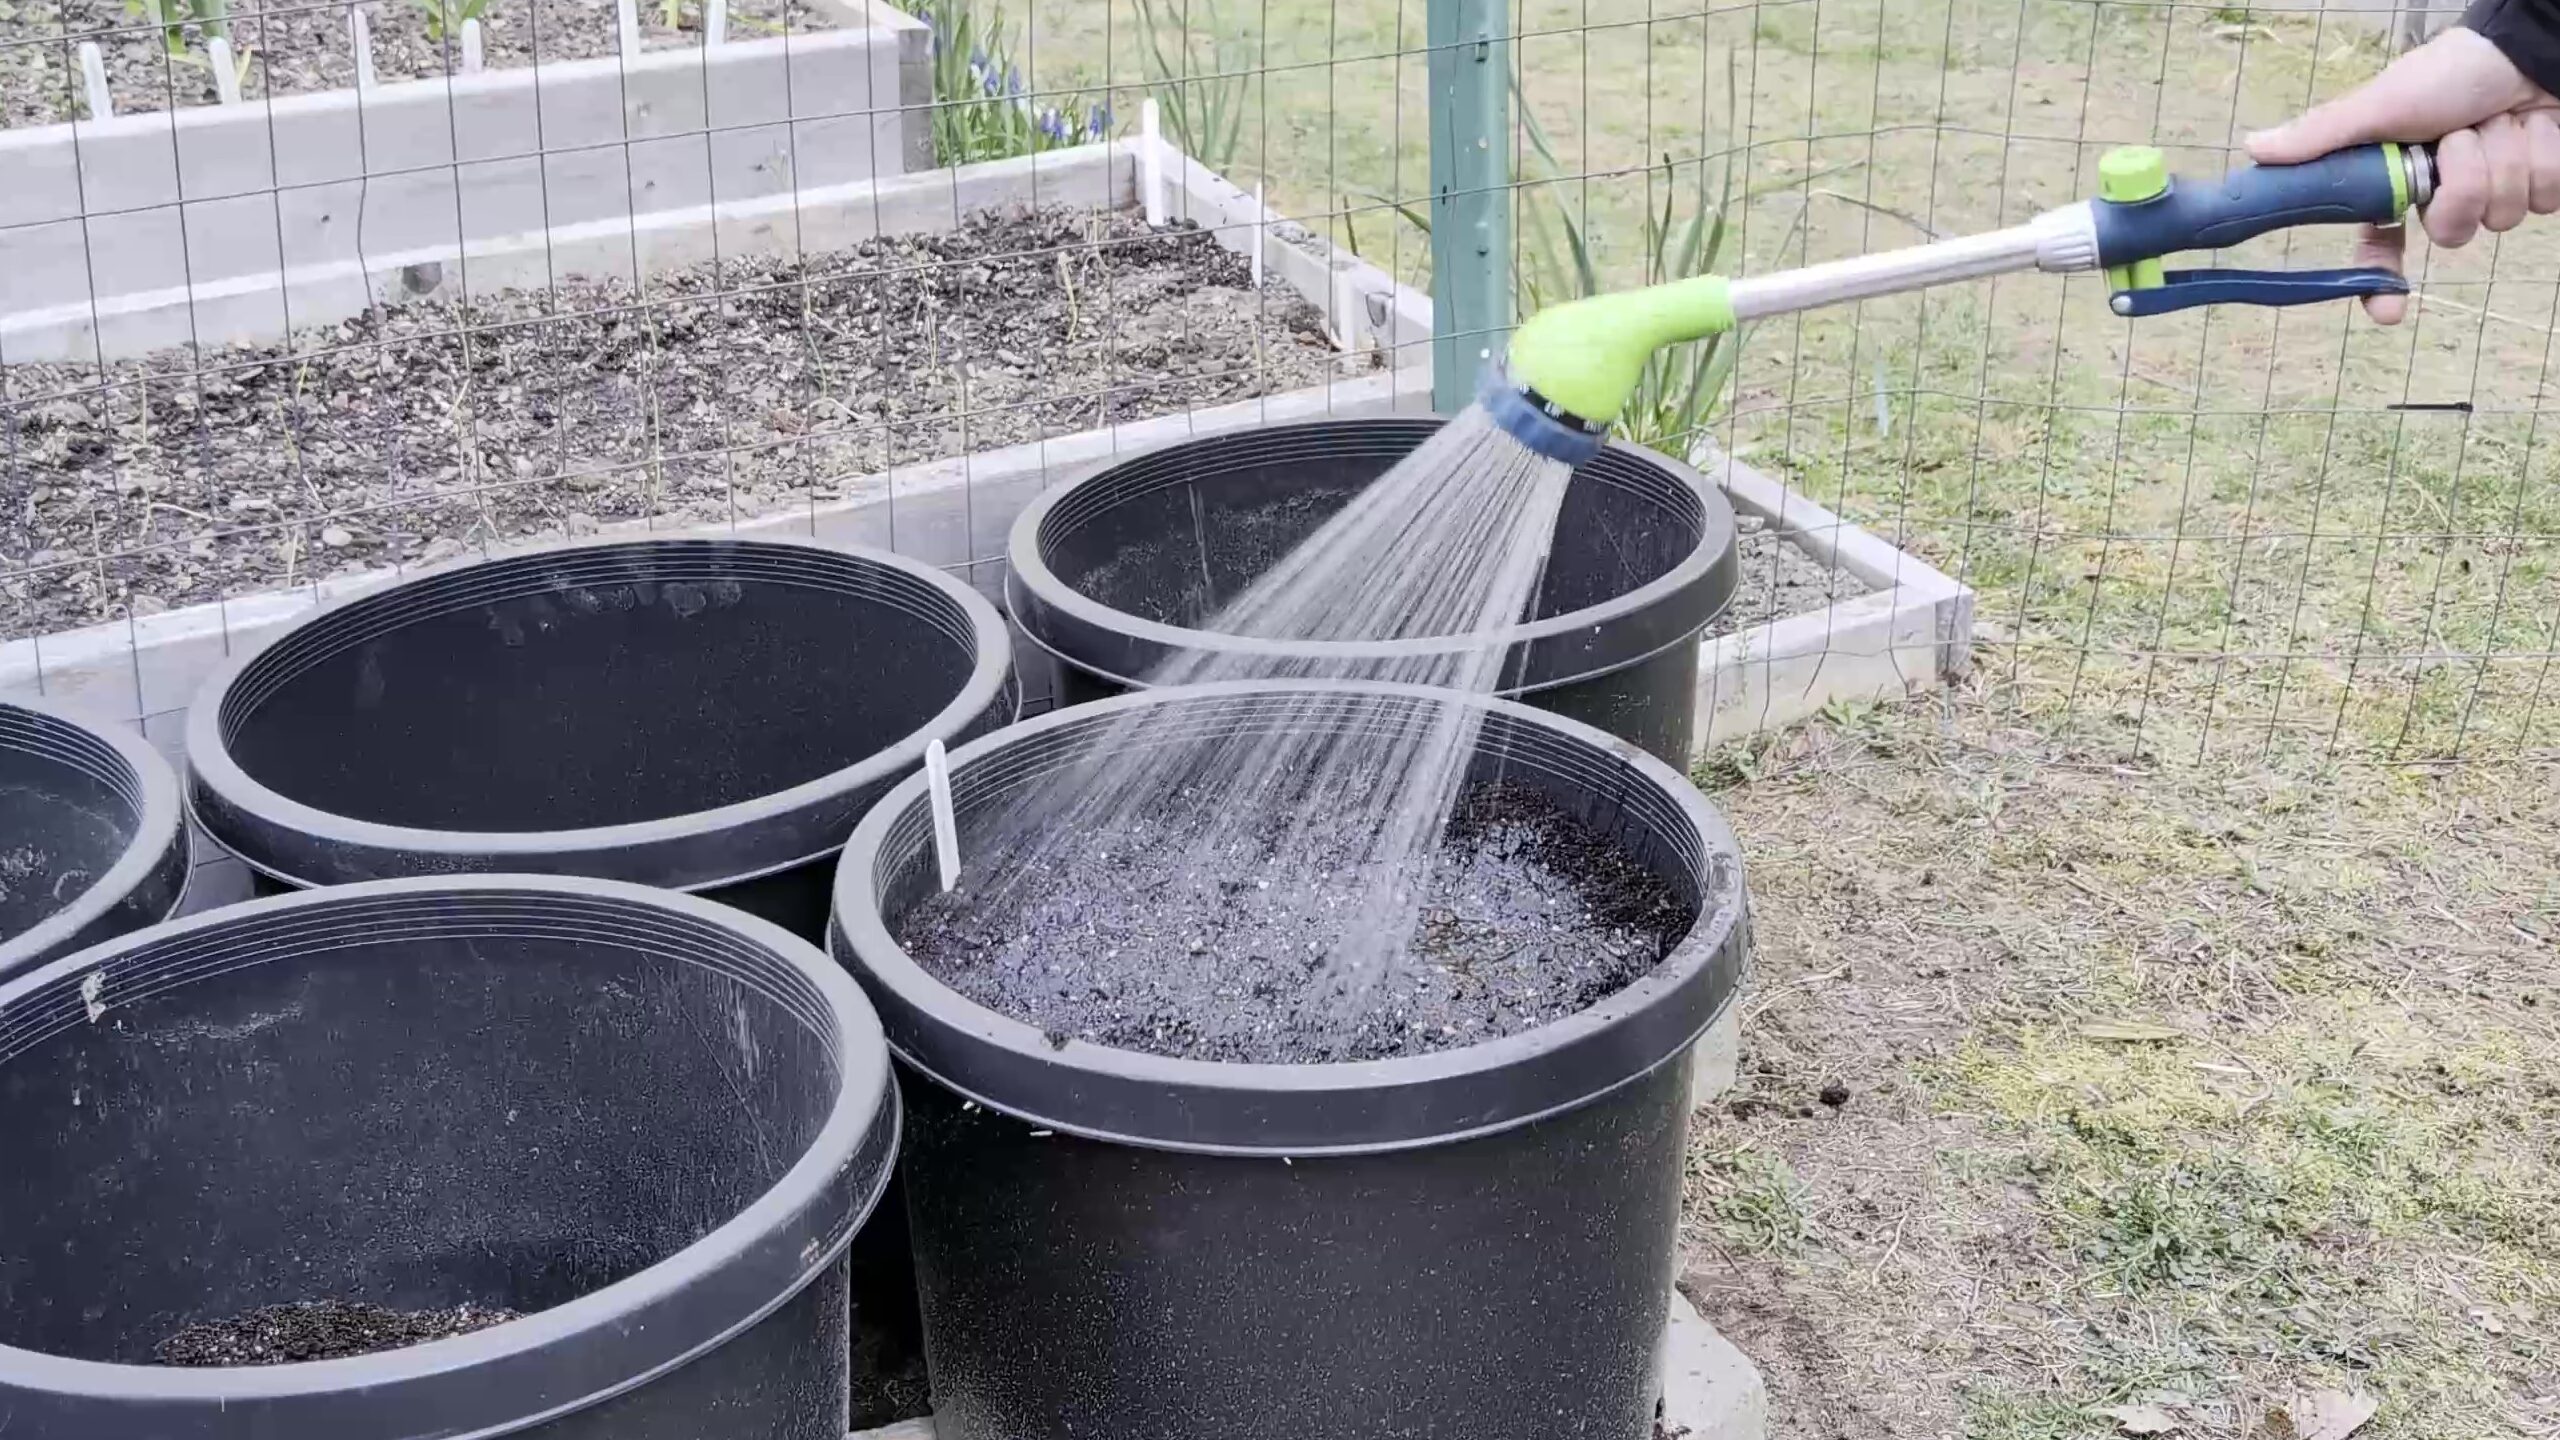
Tip 7: Watering and Fertilizing
Try not to overwater your potatoes. Extra drainage holes should help with this. Water at the surface and use organic liquid seaweed fertilizer once a month, if we remember to.
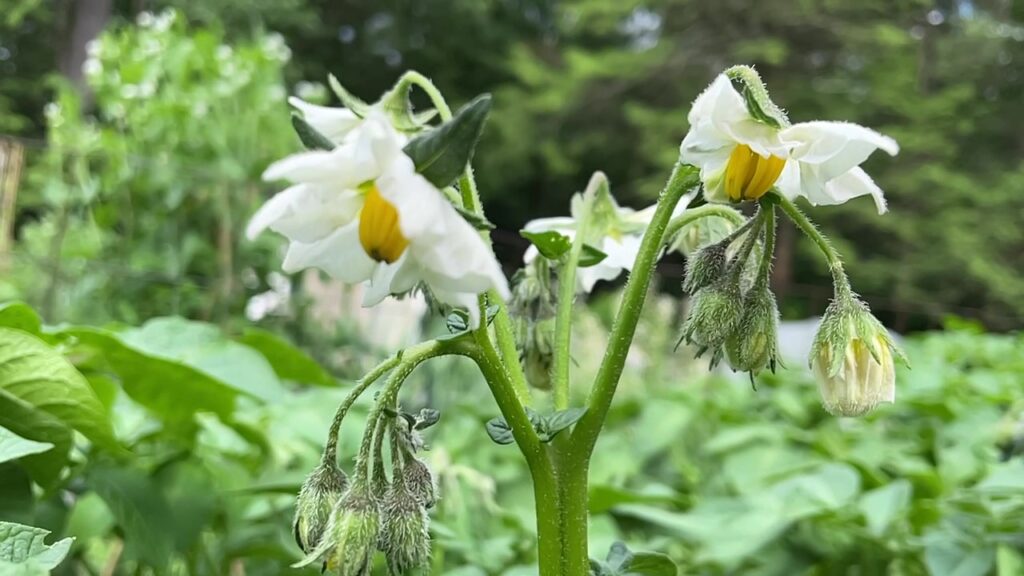
Tip 8: Flowers
If you want more potatoes, remove the flowers to redirect energy from flowering to tuber production. You don’t need to remove them, and leaving the flowers can also be nice since they smell good and attract pollinators.
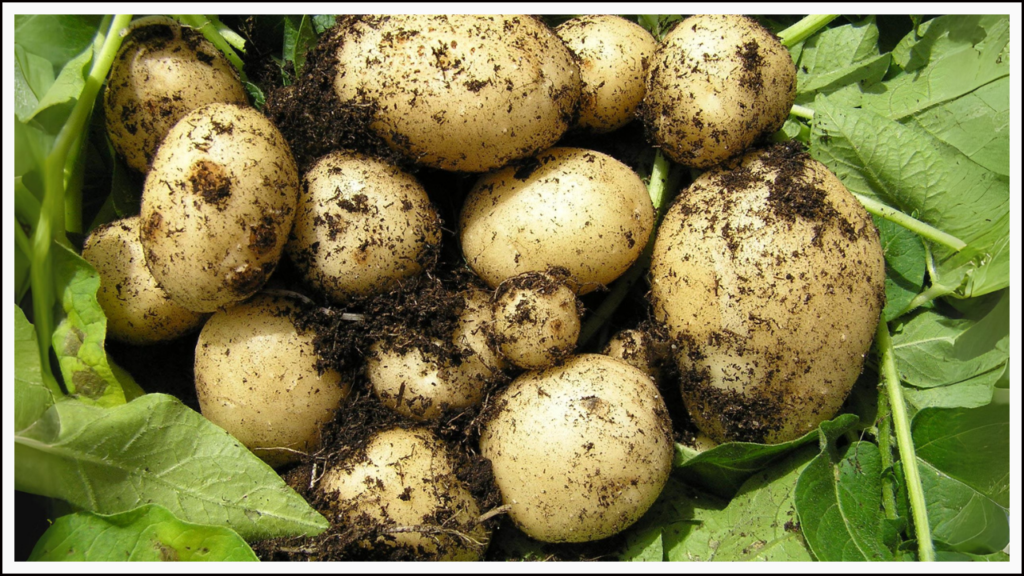
Tip 9: Harvesting
You’ll be harvesting these after the foliage turns brown and dies back. Take a look at the potato varieties you’re growing to get an idea of when that will be. As long as the soil isn’t soggy, the potatoes can hang out in the pots. To harvest them, dump the pots onto a tarp or some cardboard. Collect up those potatoes, and put the soil back in the pot when you’re done. You can refresh this with more compost and fertilizer and maybe get in another harvest before the end of the season! Wait a week to 10 days for the skins to cure and harden, making them better for storage.
Tip 10: Soil Reuse
There’s a lot of soil left over from growing potatoes in containers, and it can seem like a bit of a waste. But, this is gardening, so nothing ever goes to waste! You can re-use the soil on flower beds as a mulch, add more nutrients into the soil (through compost and fertilizer) and use for a new crop, or you can put it on the compost heap to turn into new soil for next year. As long as your potatoes are more or less disease-free (do the potatoes look good?), that soil is good to use.
Growing potatoes in containers has been awesome for us. It saves space and makes harvesting easier. If you have any questions about growing potatoes, leave them in the comments below. Be sure to check us out on YouTube as well – Frog Pond Gardening – for more gardening tips and advice.


COMMENTS