

Introduction
Garlic, with its pungent aroma and rich flavor profile, is a beloved staple in gardens worldwide. We use garlic nearly every day in the kitchen, so growing our own was a no-brainer. Based on our experiences, we’ve put together this quick guide to help jumpstart your own garlic growing. We’ve included tips for prepping the garden bed, fall planting, and harvesting in the following year. Whether you’re a seasoned gardener or a novice enthusiast, we hope this guide inspires you to grow garlic in your own garden!
Preparing the Bed
To prepare the bed for garlic planting, begin by thoroughly clearing the area of any remnants from previous crops and weeds, creating a clean slate for your garlic. Next, enrich the soil by incorporating a generous layer of organic compost. This improves soil structure and provide essential nutrients. Garlic bulbs are heavy feeders, so make sure to work a fair amount of goodness into the soil.
Choosing Garlic Varieties
Consider planting multiple varieties to determine which grows best in your climate and suits your culinary preferences. This year we trialed seven varieties of garlic. They break down into three categories:
- Soft neck varieties (e.g., Silver White): Known for their longer shelf life and milder flavor, these varieties are ideal for braiding and are commonly found in supermarkets. They typically have more cloves per bulb and are better suited for warmer climates.
- Hard neck varieties (e.g., Montana Zemo, Russian Red): Prized for their complex, robust flavors and larger cloves, hard neck garlic is well-adapted to colder regions. These varieties produce fewer cloves per bulb but often have a more intense garlic taste. They also produce edible scapes, which are a delicacy in their own right.
- Elephant garlic (technically a type of leek): Despite its name, elephant garlic is more closely related to leeks than true garlic. It produces massive bulbs with a milder, sweeter flavor compared to regular garlic. While not as pungent, it’s excellent for roasting and adds a subtle garlic essence to dishes.
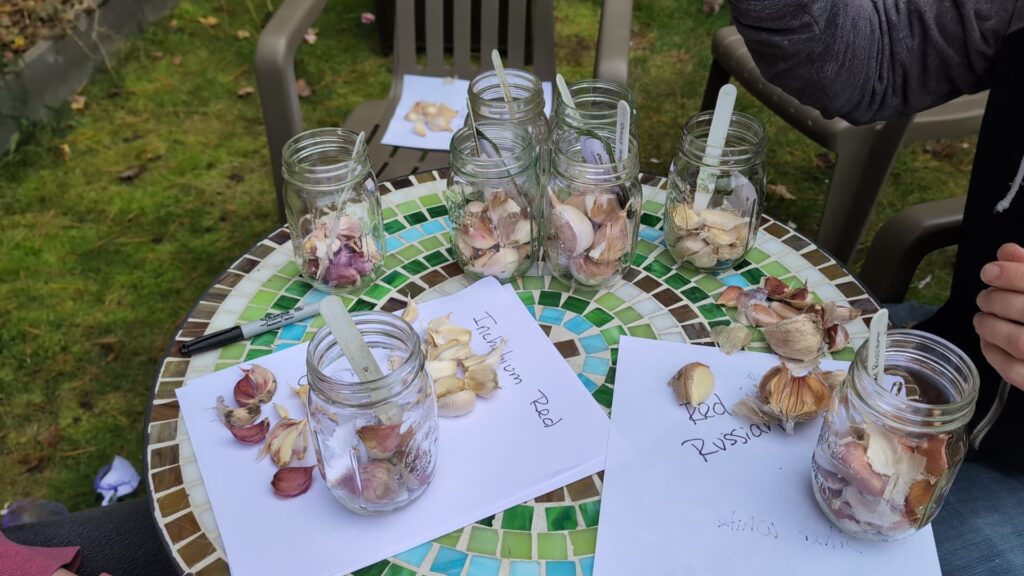
Separating and Selecting Cloves
Carefully separate the bulbs into individual cloves, preserving the protective papery skin as much as possible. Choose the largest and healthiest cloves for planting, as these will yield the most robust plants and largest bulbs in the following season. Don’t let anything go to waste – reserve smaller or slightly damaged cloves for culinary use. Before planting, thoroughly inspect each clove and discard any showing signs of disease, mold, or significant damage.
Planting Process
To plant garlic, begin by creating planting holes approximately 3 to 4 inches deep and evenly spaced. Place one clove in each hole with the flat, root end facing downward and the pointy, sprouting end oriented upward. Space the cloves according to the specific variety’s requirements, typically 4-6 inches apart for most types. For larger varieties like elephant garlic, increase spacing to 6-8 inches to accommodate their size.

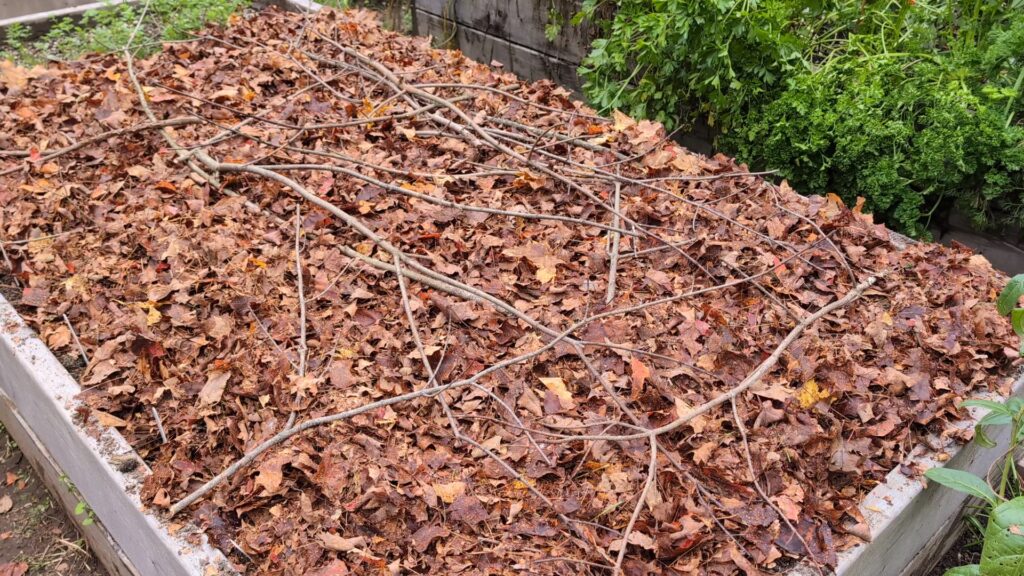
Mulching for Winter
After planting your garlic, it’s a good idea to protect it from harsh winter conditions. Begin by applying a generous layer of organic mulch, such as straw, leaves, or well-aged compost, to a depth of 4-6 inches. This mulch acts as an insulating blanket, shielding the garlic from extreme temperature fluctuations and preventing frost heave. To ensure the mulch stays in place during windy weather, you can secure it with a network of small branches, twigs, or lightweight wood pieces laid across the bed. This protective covering will remain in place until snow naturally blankets the area, providing additional insulation. In regions with minimal snowfall, maintain this mulch layer throughout the winter, adjusting as needed to ensure consistent coverage and protection for your developing garlic crop.
Spring Care
When it comes to spring and your garlic is starting to grow on nicely, apply a high-nitrogen organic feed to resume and maintain active growth. This nutrient boost supports robust leaf development and ultimately leads to larger bulbs. Apply the fertilizer carefully around the base of each plant, taking care not to disturb the roots or developing bulbs.
Monitor your garlic crop closely as summer progresses. Garlic will naturally start to produce a flower stalks, known as scapes. Once they are tall and start to curl, the scapes should be removed so that the energy stays concentrated in producing larger garlic bulbs instead of flowers. Bonus: scapes are edible (and delicious)! They have a fresh, light garlic flavor and are perfect for adding to meals as you would add garlic or green onions or cutting them up to make pesto. This season we added scapes to garlic knots and they turned out amazing. You can see the video (and get the recipe) on YouTube: Ultimate Garlic Knot Recipe.
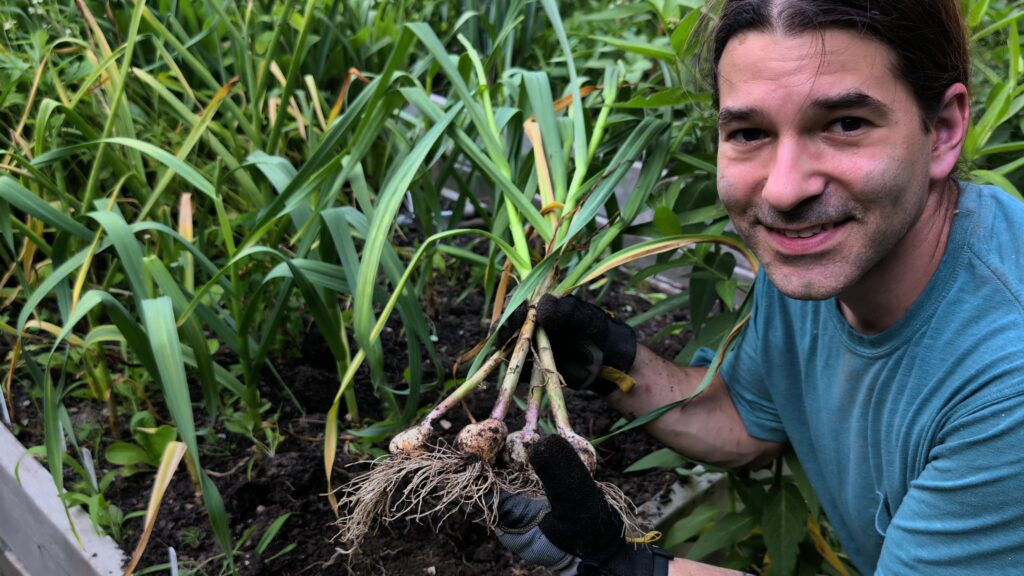
Time to Harvest
The optimal harvest time is when about half of the leaves have yellowed and begun to dry, typically around early July. Be sure to check with local resources to find out what is typical for your area. You can gently lift a few plants to get a peek at bulb size before harvesting the entire crop.

After harvesting, the garlic needs to dry and cure for some time before storage. Keep the garlic in a cool, dry place for several days to a week. Then remove the stalks, brush off excess dirt and trim back any roots. The garlic should be ready to store until you need it in the kitchen. When storing garlic at this stage, be sure to check one last time for any damaged bulbs. Use these cloves in the kitchen first because damage will shorten their storage life.

Additional Tips
Preserve a few extra cloves for late winter green garlic planting. Store surplus cloves in a cool, dry place like a garage or basement that remains slightly above freezing. In late January or early February, pot these cloves in a mixture of potting soil with some compost. Grow them in a protected environment until the garden soil thaws, then transplant for an early harvest of flavorful green garlic.
Tailor your garlic selection to your local climate. Hard neck varieties, like Russian Red or Montana Zemo, are well-adapted to survive harsh winters. In milder climates, soft neck varieties may thrive, offering longer storage life and the possibility of traditional garlic braiding.
Diversify your garlic patch with multiple varieties. Plant an assortment of garlic types to discover which perform best in your area. Consider flavor intensity, clove size, storage potential, and adaptability to your local growing conditions when selecting your favorite garlic varieties.
Are You Ready to Start Planting?
By following these steps and guidelines, we hope you’ll be well-equipped to cultivate a wonderful garlic crop in your garden. Happy planting, and may your garden be filled with the robust aroma and distinctive charm of homegrown garlic!
And for more info, check out our complete garlic planting guide on our YouTube channel:


COMMENTS