

As the first killing frost marks the end of the dahlia season, it’s time to prepare these beautiful flowers for winter storage. This guide will walk you through my dahlia care process of digging up, cleaning, and storing dahlia tubers to ensure they’re ready for next spring’s planting.
First, A Little Bit About Dahlias
Dahlias are a herbaceous perennial native to Mexico and South America. They are hardy in zones that do not experience frost. Fortunately for us northern gardeners, their tubers, from which stems, foliage, and flower grow, will tolerate dormancy. This means that each fall dahlia can be dug up and stored indoors, and then planted out the next spring.
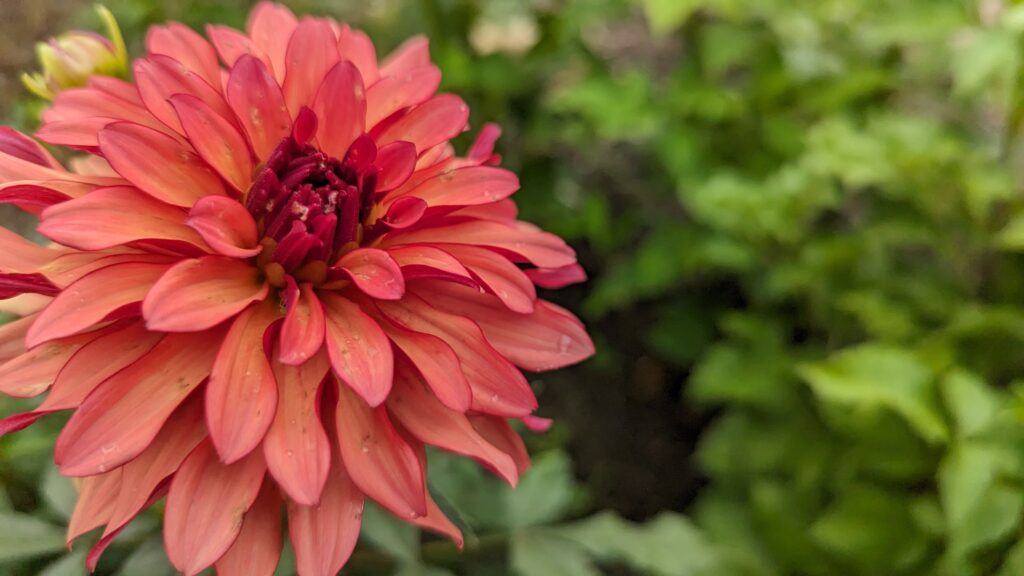
There are more than a dozen recognized flower types, from single flower forms, to pom-poms and balls, to decorative of varying sizes, and more. The colors range from whites and creams, to bright oranges, pinks and purples. Some varieties have dark, nearly black foliage, to compliment their vibrant flowers.
There is so much more to explore with the growing of dahlias! For now I’ll focus on how to care for them at the end of the growing season.
Labeling Your Dahlias
Before the first the first frost arrives, it’s a good idea to make sure that all of your dahlia plants are labeled. This step will go a long way to helping you stay organized and effectively planning where your dahlias will go next year. Accurate labeling ensures you can strategically place your dahlias based on their colors, heights, and bloom types, creating a visually stunning display.
Cutting Back and Digging Up
Once the first frost has blackened the dahlia foliage, signaling the end of the growing season, it’s time to initiate the careful process of preparing your dahlias for winter storage. Cut back all of the dahlia stalks. I like to cut back close to the ground, being careful not to cut too low and risk damaging the tubers which sit below the soil. The stalks can go right onto your compost bin – and extra bonus to help make nutrient-rich compost for next season!
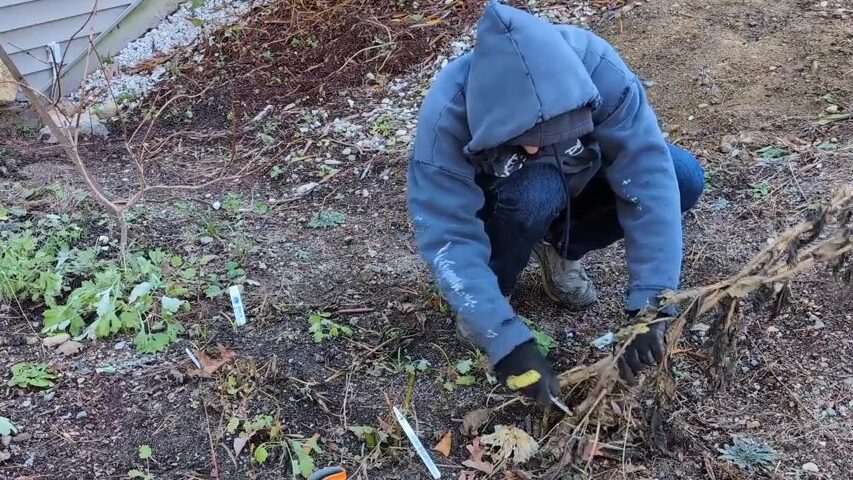
I like to use a garden fork or shovel to lift the dahlias. Start by digging about a foot away from the base. Then carefully pry up the soil. Again, the goal is to lift the dahlias without damaging their tubers.
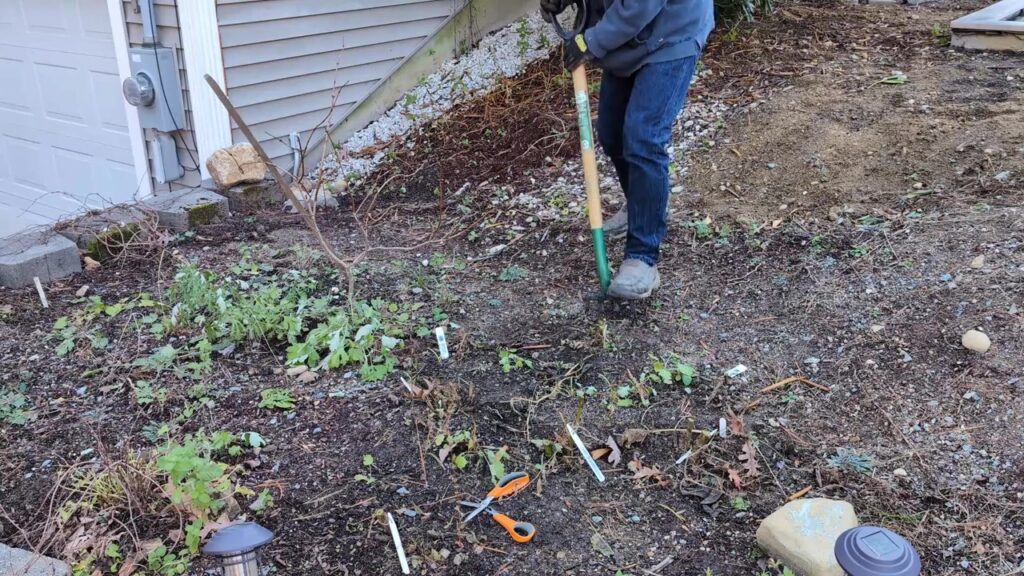
If some tubers break away from the main part of the plants, that’s ok. You can clean and inspect them along with others. Note: this is where it’s easy to mix up which variety is which.
Cleaning and Inspecting
After carefully excavating the tubers, it’s time to clean and inspect them to ensure their health and viability for the next growing season. Use a garden hose to wash off as much soil as possible.
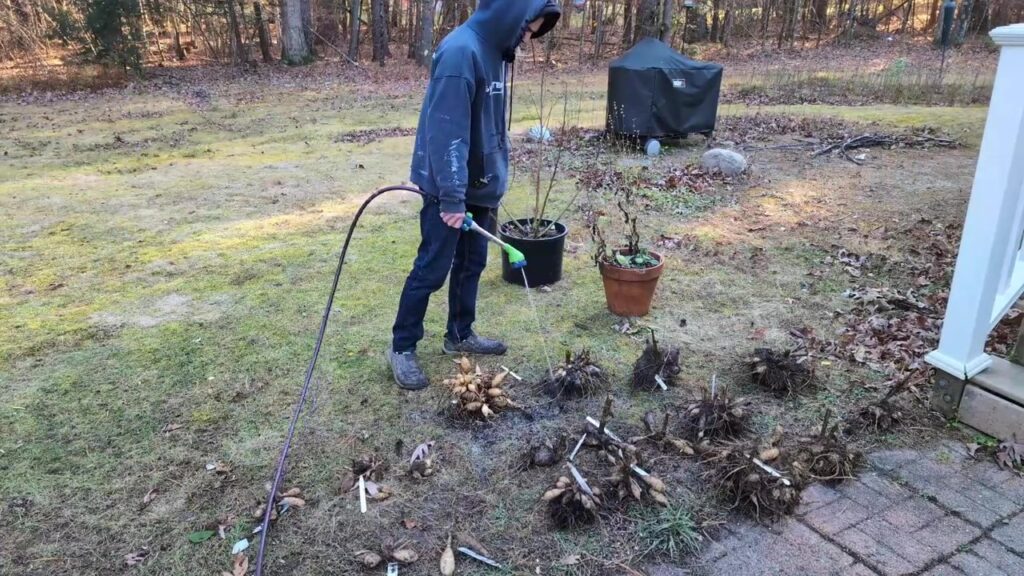
Once the dahlias are clean, it’s a good time to inspect the tubers. There are a few things to look for:
- Look for any signs of damage to individual tubers, such as cuts, soft spots, holes from insects.
- Check for symptoms of diseases like Crown Gall (rough, wartlike growths) or Leafy Gall (small, leaflike protrusions).
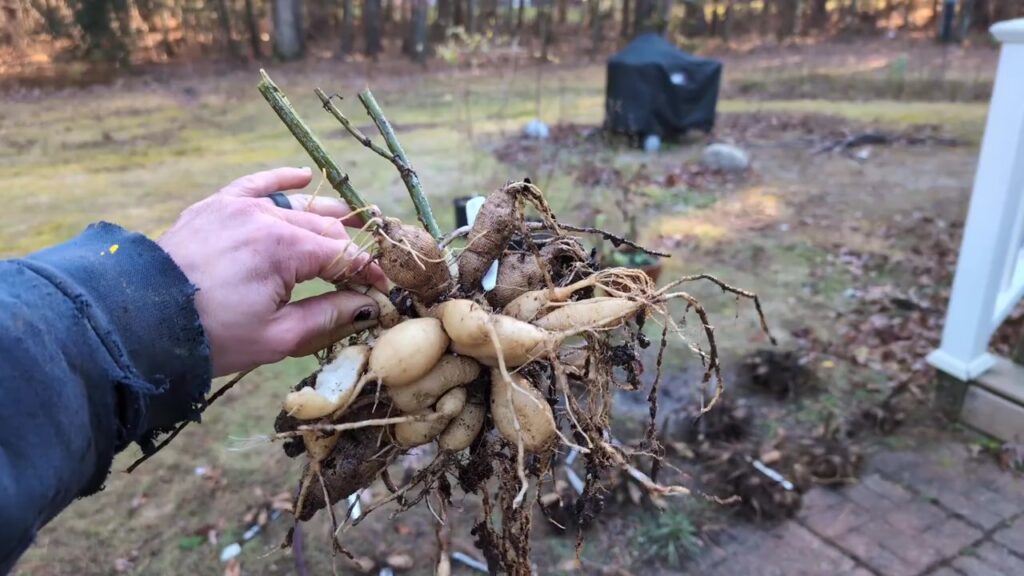
Remove any tubers that show signs of damage, rot, or disease to prevent potential spread during storage.
Once your dahlias have been thoroughly cleaned and inspected, it’s time to prepare them for their winter dormancy period. Set them out to dry in a cool, well-ventilated area. I set mine out in the garage. You’ll want to give them at day or two, depending on how damp they are from cleaning. Check on them, especially larger clusters to make sure they are drying.
Storing Your Dahlias
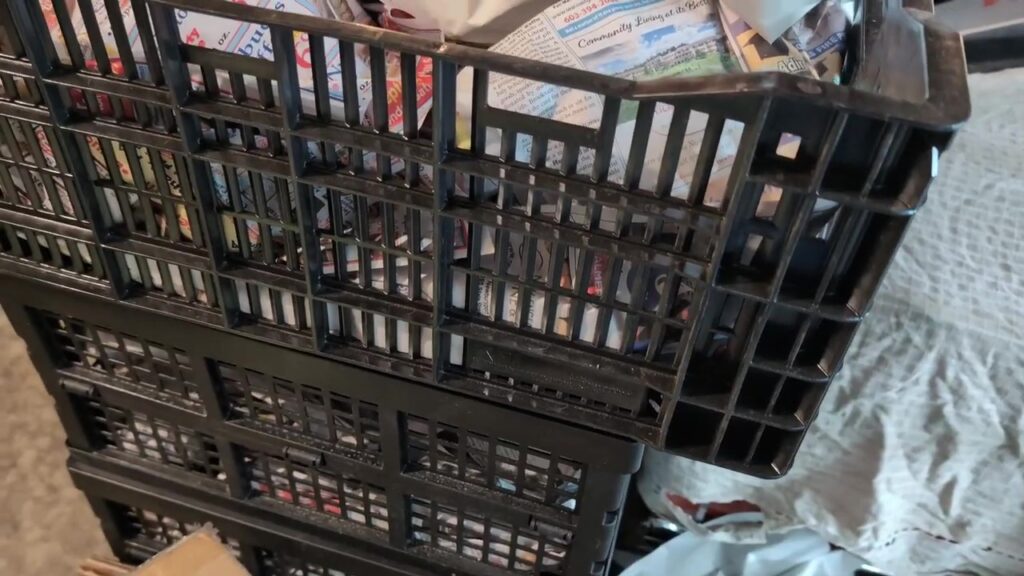
There are a number of methods for storing dahlias. Wrap each tuber cluster individually in newspaper or paper bags to allow air circulation while preventing excessive drying. Place the wrapped tubers in ventilated crates, cardboard boxes, or plastic containers with air holes. Alternatively, the tubers can be stored in sand or vermiculite. Either way, make sure you’ve got a label for each cluster. It can be helpful to use string to tie the label to the tuber clusters.
Store the crates or boxes in a cool, dark place like a basement, garage, or root cellar where temperatures remain consistently between 40-50°F (4-10°C). For me, the basement is the best location, since the garage can become too cold in the winter.
It’s a good idea to check on the dahlias periodically throughout the winter. I try to check on them once a month. Look for any signs of rot, mold, or excessive drying. If tubers appear to be drying out, lightly mist the packing material (not the tubers directly) with water to increase humidity. Remove any tubers that show signs of rot to prevent spread to healthy tubers.
Conclusion
So there you have it. With a little bit of work at the end of the season your dahlias will be chilling all winter, ready to pop up and show off next season! Just remember to give your tubers a quick once-over now and then, and start dreaming up your spring garden plans. Trust me, your future self will thank you when those gorgeous blooms start appearing!
If you’re looking to add new dahlias to your garden, you can find lots of growers online. Typically you can pre-order dahlias in the fall. Growers will ship them to you in the spring so that you get your dahlias at the right time for planting out.
We hope you found this dahlia care guide helpful! Do you have any special techniques for storing your dahlias? Share your tips in the comments below, and don’t forget to subscribe to our YouTube Channel for more gardening advice from the Frog Pond Veg Patch!


COMMENTS